

3 Things that Helped Ben Heller Throw 100 MPH
June 06, 2017
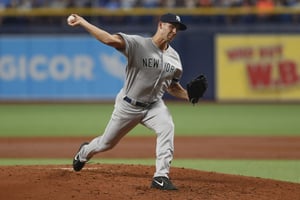
One of our clients at BRX Performance, Ben Heller, is a professional pitcher on the New York...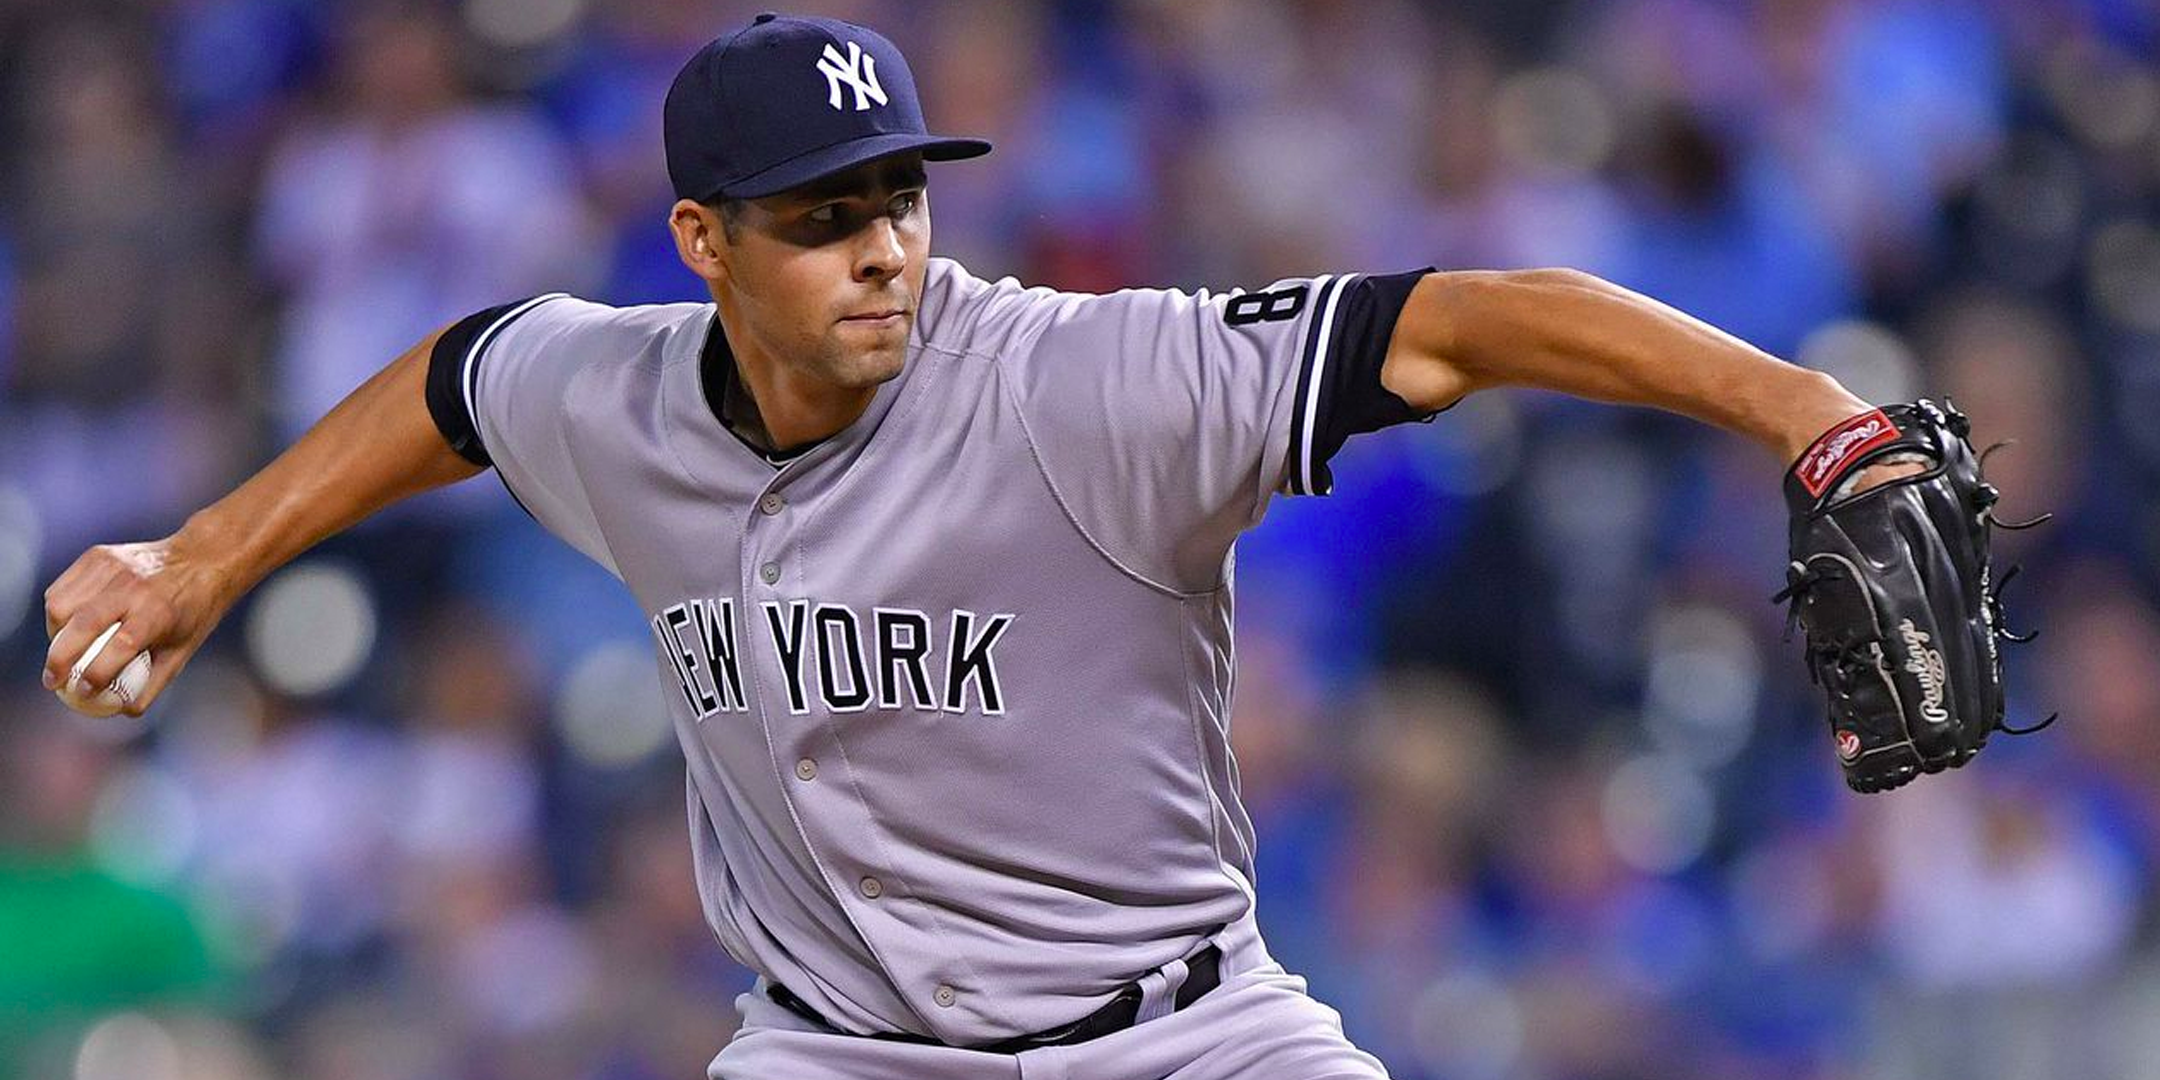
When I introduced you to Ben Heller and his incredible story, I discussed three things that helped him improve his fastball from 92-94 MPH to 95-98 and touching 100 MPH:
1. He trained with a purpose four to five times per week
2. He worked on his hip and upper back mobility restrictions
3. He trained on one leg and in the lateral (frontal) plane
Now we’re going to narrow our focus to arm care drills specifically and discuss a few that helped Ben make the velocity jump that he did:

I know what you’re probably thinking – “I do ‘Ys’ all the time. Show me something more exciting!”
Here’s the problem: 99% of people do ‘Y’ exercises wrong, likely doing more harm than good in the process. If done correctly, you should feel a BIG burn in the scap (shoulder blade) area. In our experience working with new athletes, very seldom is this the case initially.
Here’s the part everyone is missing: instead of your hand and arm doing the work, the motion should be driven by the shoulder blade moving backward. I like to tell athletes, “Think about your shoulder blade doing the work while your arm and hand are along for the ride.” Sometimes it helps to think about trying to “bring your shoulder blade to the wall behind you” as you complete each rep.
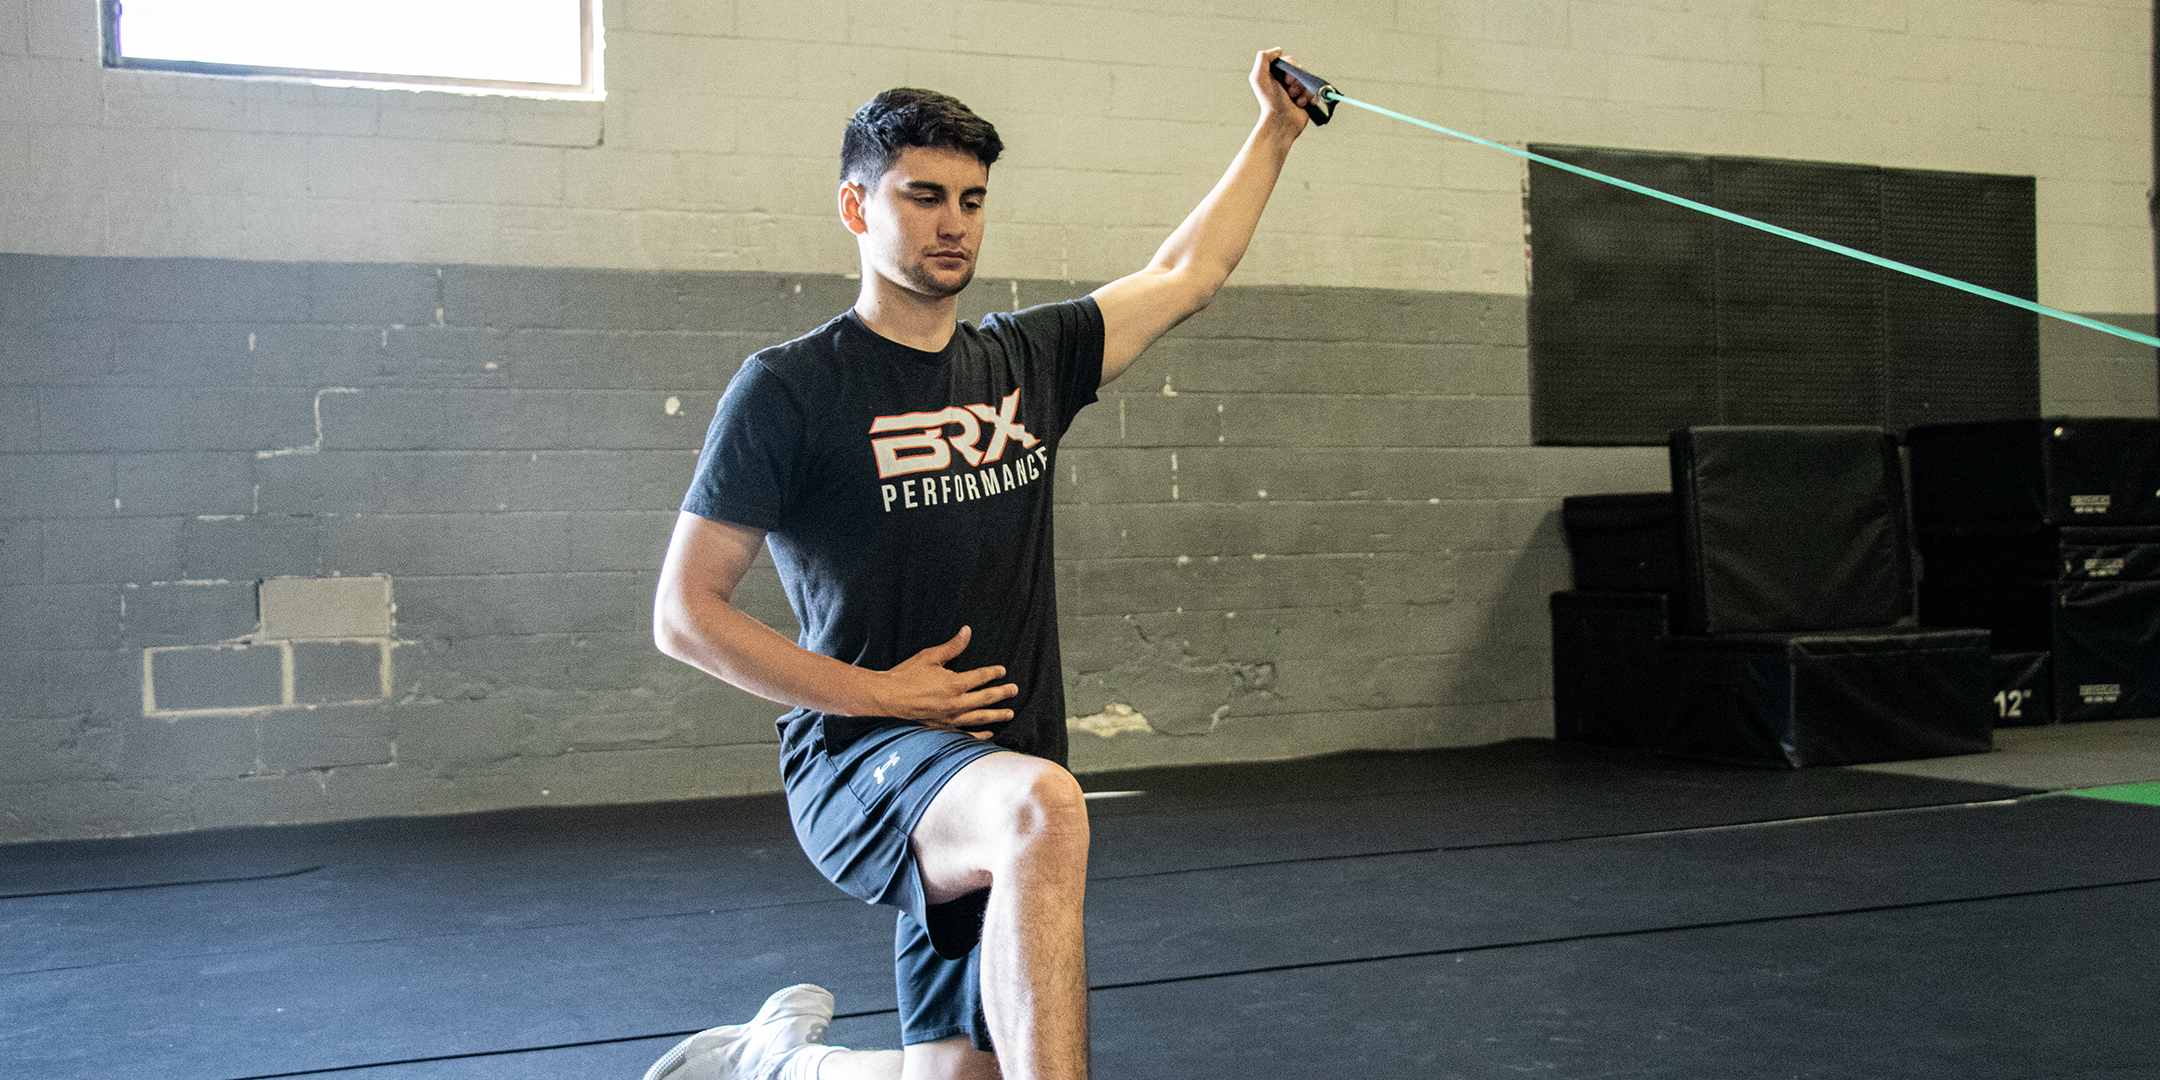
Why is all this important? Using the shoulder blade on Ys drives something called scapular posterior tilt. Scapular posterior tilt in turn allows the shoulder to externally rotate back further into the layback position to help you throw harder. In layman’s terms, it helps you optimize this position:
Most baseball players understand that getting the arm to “lay back” further usually means more velocity. Having said this, more layback is a double-edged sword: it also comes with increased injury risk. Building strong scapular muscles, like the lower portion of the trapezius (aka lower trap) with drills like the Kneeling 1-arm Band Y, is incredibly important for improving performance while simultaneously lowering injury risk.
We usually recommend doing this drill for 3 sets of 8-10 per arm in-between sets of lower body exercises and as part of their post-game routine.
For a further understanding of this drill, watch this video.
Get Your Free 7 Days Training Now!
|
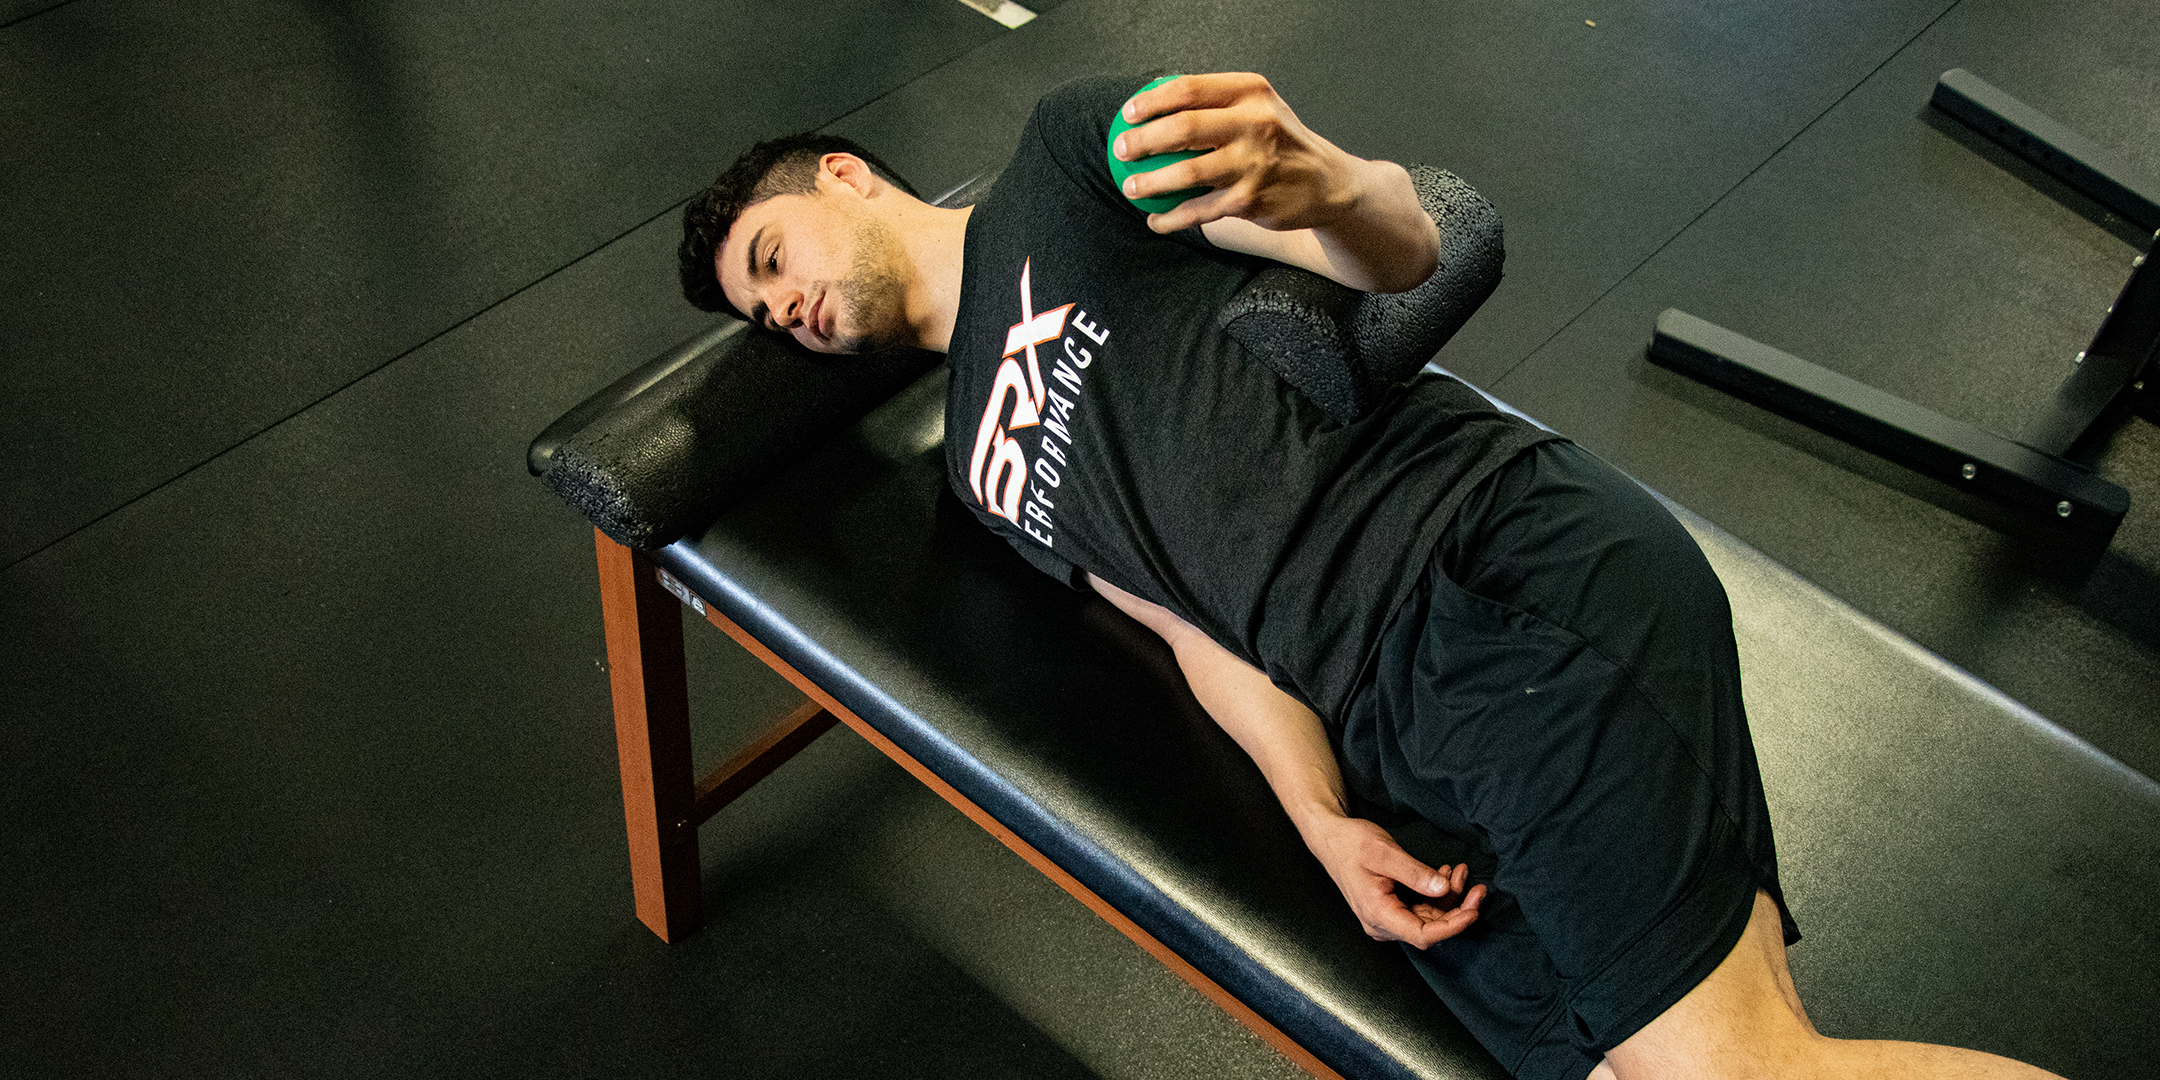
Improving rotator cuff strength is one of the best ways to improve throwing velocity. To effectively build rotator cuff strength, you have to start with the basics.
Side-lying ERs are a great drill you can do just about anywhere, as long as you have a 2-5lb weight. The major muscles worked are the two rotator cuff muscles on the back of your shoulder (infraspinatus and teres minor) and the lower trapezius.
Although this drill looks simple, nailing the set-up position is critically important for getting the most out of the exercise. Watch the video thoroughly and make sure your shoulders are stacked, your scap stays tilted back, and you get every last inch of range of motion you possibly can.
We usually recommend doing this drill for 3 sets of 8-10 per arm in-between sets of lower body exercises and as part of their post-game routine.
For a further understanding of this drill, watch this video.
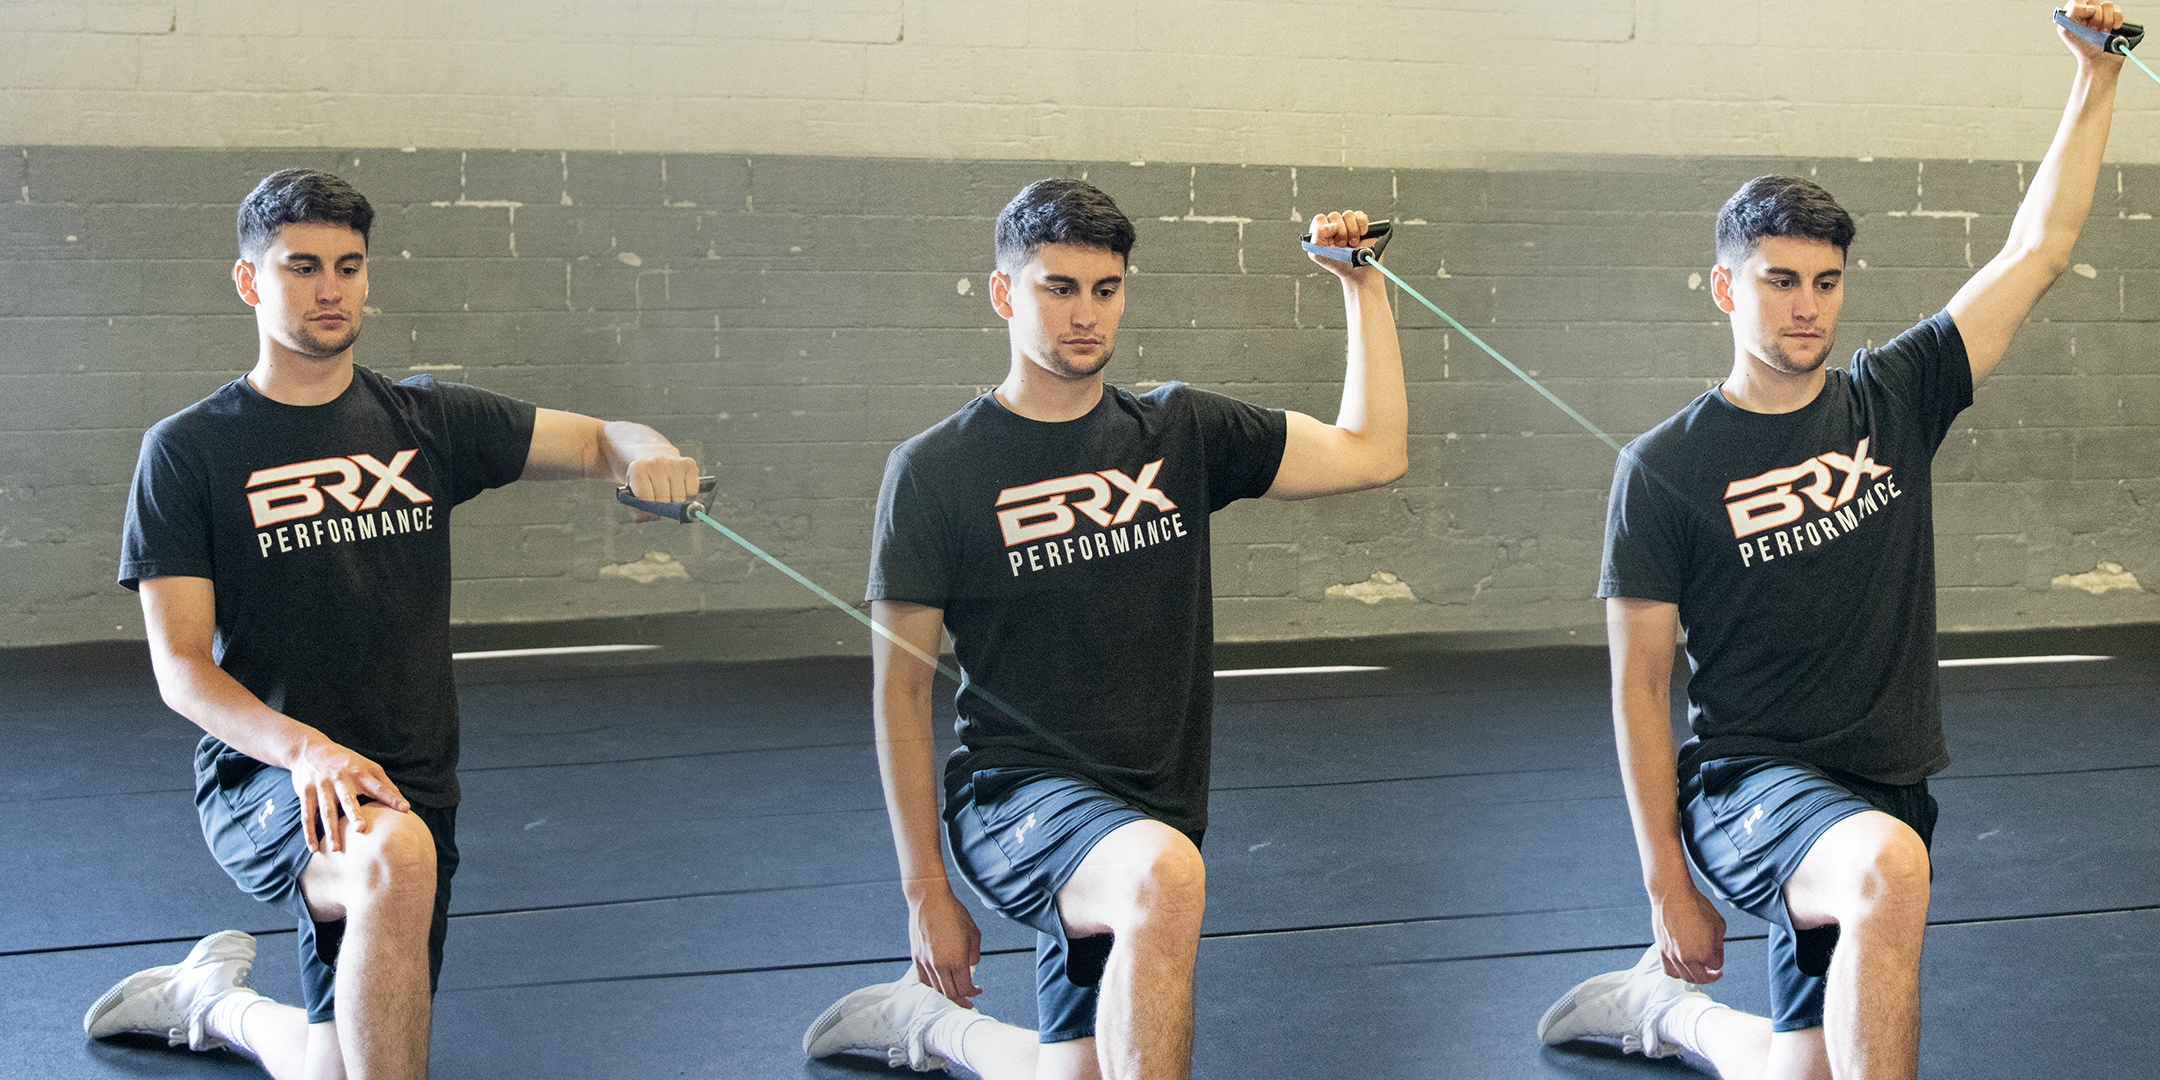
While the Side-lying ER is an AWESOME exercise, it does have its limitations. Most importantly, it keeps your arm at your side, whereas throwing a baseball involves being in a 90/90 position of the shoulder and elbow.
This Kneeling Band Shoulder ER to Press is a progression off of the Kneeling Band Shoulder ER, which we showed you in our blog last week when we first introduced Ben.
Done correctly, this will light up the posterior rotator cuff to a greater degree than the regular ERs. Additionally, it’s more beneficial for those who have “over the top” deliveries, although all can benefit from it.
Having said all this, it’s a very commonly butchered drill. Watch the video tutorial closely, keep it SLOW, and be sure to not let your hand migrate forward as you press overhead.
We usually recommend doing this drill for 3 sets of 8-10 per arm in-between sets of lower body exercises and as part of their post-game routine.
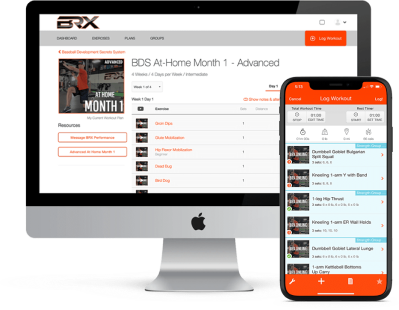
Are you struggling to increase your throwing velocity, exit velocity, or running speed? Don't worry; you're not alone. That's why we have developed BDS, Baseball Development Secrets. The Baseball Development Secrets System (BDS) is a baseball-specific strength training program specifically designed to increase throwing velocity, exit velocity, and running speed. The best part is you can get access to our program for 7 days free of charge! If you're serious about your baseball development, Baseball Developments Secrets could be that answer for you as it has been for hundreds of other baseball players. Start your FREE trial today!
Claim Your Free 7 Days Training Now! |
June 06, 2017
One of our clients at BRX Performance, Ben Heller, is a professional pitcher on the New York...June 02, 2018
Do you think you can’t really achieve high-level college and professional baseball because you lack...

